
Conduit Bending Basics: The Essential Guide for Professionals
Mastering conduit bending is a critical skill for electricians and contractors. Whether you’re just starting out or refining your expertise, understanding the tools, techniques, and strategies involved in conduit bending can elevate the quality of your projects. In this guide, we’ll cover the basics of conduit bending, Klein Tools‘ range of benders, and step-by-step methods to ensure precise results every time.
What Is Conduit Bending?
Conduit bending involves shaping electrical conduit to navigate corners, obstacles, or specific pathways in a structure. Proper bending not only ensures safety and compliance with electrical codes but also improves the overall aesthetics of an installation. Klein Tools, renowned for their reliability, offers a range of conduit benders that simplify this process for professionals.
Types of Conduits and Matching Bender Sizes
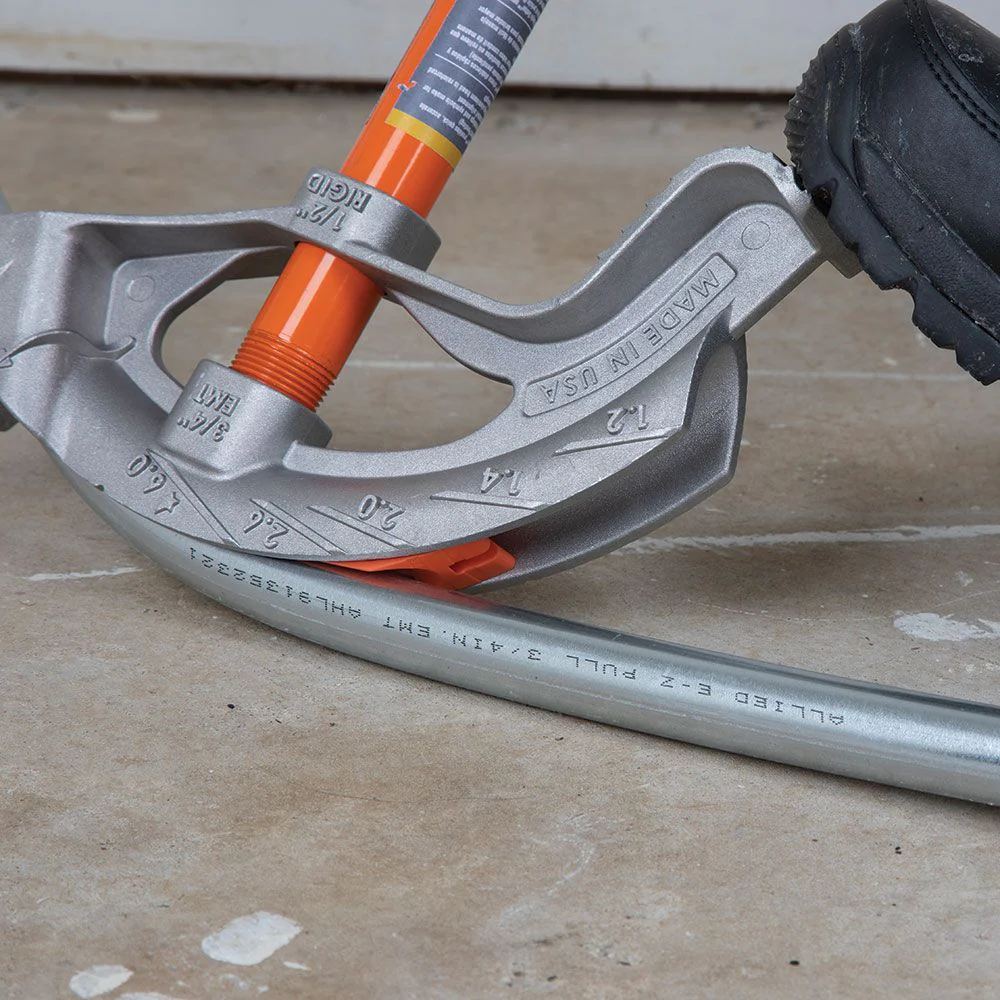
Understanding the types of conduits and selecting the correct bender is the foundation of effective conduit bending. Klein Tools manufactures benders compatible with:
EMT (Electrical Metallic Tubing)
Sizes ½”, ¾”, 1″, and 1-¼”


Rigid Conduits
Sizes ½”, ¾”, and 1″
Common Conduit Bends
To get started, familiarize yourself with these essential bends:
90° Stub-Up Bend – Used to route conduits into electrical boxes.
Back-to-Back Bend – Creates U-shaped bends for parallel surfaces.
Offset Bend – Shifts conduit to bypass obstacles.
Three-Point Saddle Bend – Bridges over obstructions like pipes.
Each of these bends serves a specific purpose in electrical installations and is achievable with practice and the right tools.
Step-by-Step Guide to Conduit Bending
90° Stub-Up Bend
is one of the most common techniques, allowing conduit to turn sharply into a box or surface.
Steps:
Measure the distance from the end of the conduit to the desired rise height.
Subtract the take-up height listed on the Klein Tools Bender Table.
Mark the conduit at the calculated distance.
Align the arrow symbol on the bender with your mark.
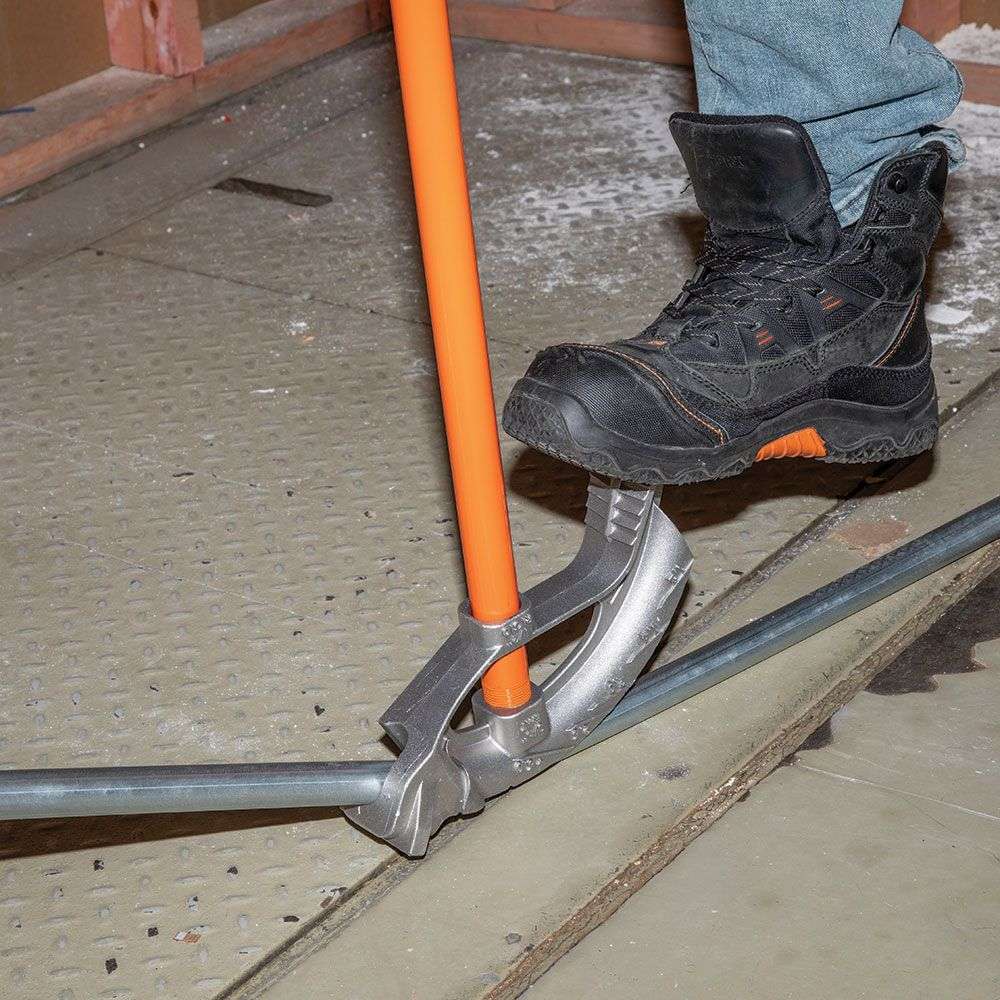
Apply consistent foot pressure to achieve a smooth bend.
Steps:
Start with a 90° stub-up bend.
Measure the distance between surfaces and mark the conduit.
Align the star symbol with the new mark on the bender.
Bend the conduit, ensuring both bends remain in the same plane.
Back-to-Back Bend
This technique is essential for routing conduit across two parallel surfaces while maintaining a clean, U-shaped appearance.
Offset Bend
Offset bends are designed to navigate around obstacles without changing the conduit’s overall direction.
Steps:
Determine the offset distance and placement.
Mark the conduit for the first and second bends based on the Offset Formula Table.
Align the arrow symbol with the first mark, bending to the desired angle (e.g., 45°).
Repeat for the second bend, ensuring accurate alignment.
Steps:
Measure and mark the conduit for the center bend and two outer bends.
Bend the center angle (e.g., 45°) using the Center of Bend Rim Notch.
Align and bend the two outer angles (e.g., 22.5°) to complete the saddle shape.
Three-Point Saddle Bend
A three-point saddle bend allows the conduit to clear obstructions while maintaining alignment on either side.
Pro Tips for Successful Conduit Bending
Choose the Right Tool: Match the conduit size to the appropriate Klein Tools bender.
Account for Spring Back: Slightly over-bend to compensate for conduit elasticity.
Use Secure Techniques: Stabilize the bender and conduit for accurate floor or air bending.
Practice Precision: Measure and mark meticulously to avoid mistakes.
Stay Safe: Wear gloves and safety goggles to protect yourself during the process.
Final Thoughts
Conduit bending is a vital skill for electricians and contractors, requiring practice, the right tools, and attention to detail. By mastering the techniques outlined in this guide and using Klein Tools’ reliable benders, you’ll achieve professional-grade results in your electrical installations.
Looking to upgrade your toolkit? Explore the full range of Klein Tools conduit benders on their website and get started on your next project with confidence.